In this Autodesk Revit tutorial, I am going to show you how to use the Offset tool. A video version of this tutorial is also available and can be viewed by clicking in the box below.
[youtube https://www.youtube.com/watch?v=7ToSsFWEpyQ?feature=oembed&w=720&h=405]
The Offset tool allows you to create a copy of a selected element, at a predetermined distance away from the original. You can think of it as selecting an element, copying it and placing that copy at a set distance- parallel to the original. But all in one click!
Let’s take a look at how this works in practice. Take a look at the 2 wall instances in the image below…..

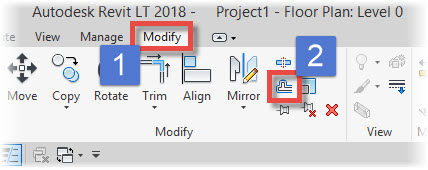
What we are going to do is “offset” each of these wall instances to the positions shown by the 2 red arrows. So go ahead and switch to the “Modify” menu and then choose the “Offset” tool…..
There are 2 methods of using the “Offset” tool:-
- The Graphical Method: This allows you to set the offset distance “dynamically” in the active view
- The…