In this Autodesk Revit tutorial we are going to take a look at Detail Lines. If you’d like to watch the video version of this tutorial first, simply click in the box below….
[youtube https://www.youtube.com/watch?v=_ghPO3Er72w?feature=oembed&w=720&h=405]
Your Revit project will be composed of predominantly 3D model elements. However there will be a need to embellish certain views with 2D Detail elements including Lines. Take for example the following example. Here is a single storey building….
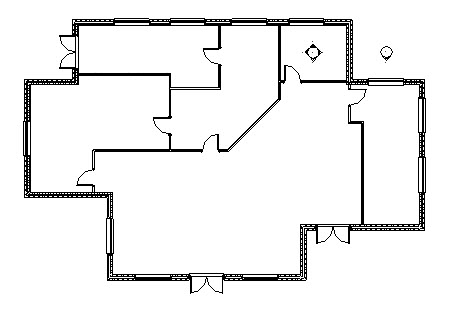
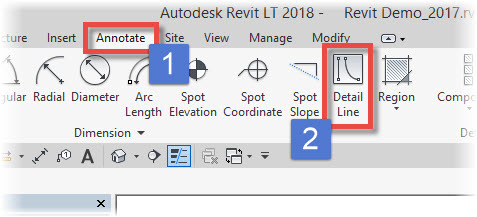
Let’s say we need to create a view showing a fire escape route. This is an typical scenario where the use of Detail Lines would be appropriate. Switch to the “Annotate” menu (1) and select “Detail Line”…
The ribbon menu instantly changes to give you all the tools you need to work with Detail Lines- namely:-
- The Draw palette: Gives you a choice of polygons, arcs and single-segment Detail Lines
- Line Style drop-down selector: Gives you access to all the current Line Styles…